


my new favorite recipe 👩🏽🍳
how i made this riso print of sharmila tagore! *ੈ✩‧₊˚

Howdy! (•́ᴗ•̀✿)
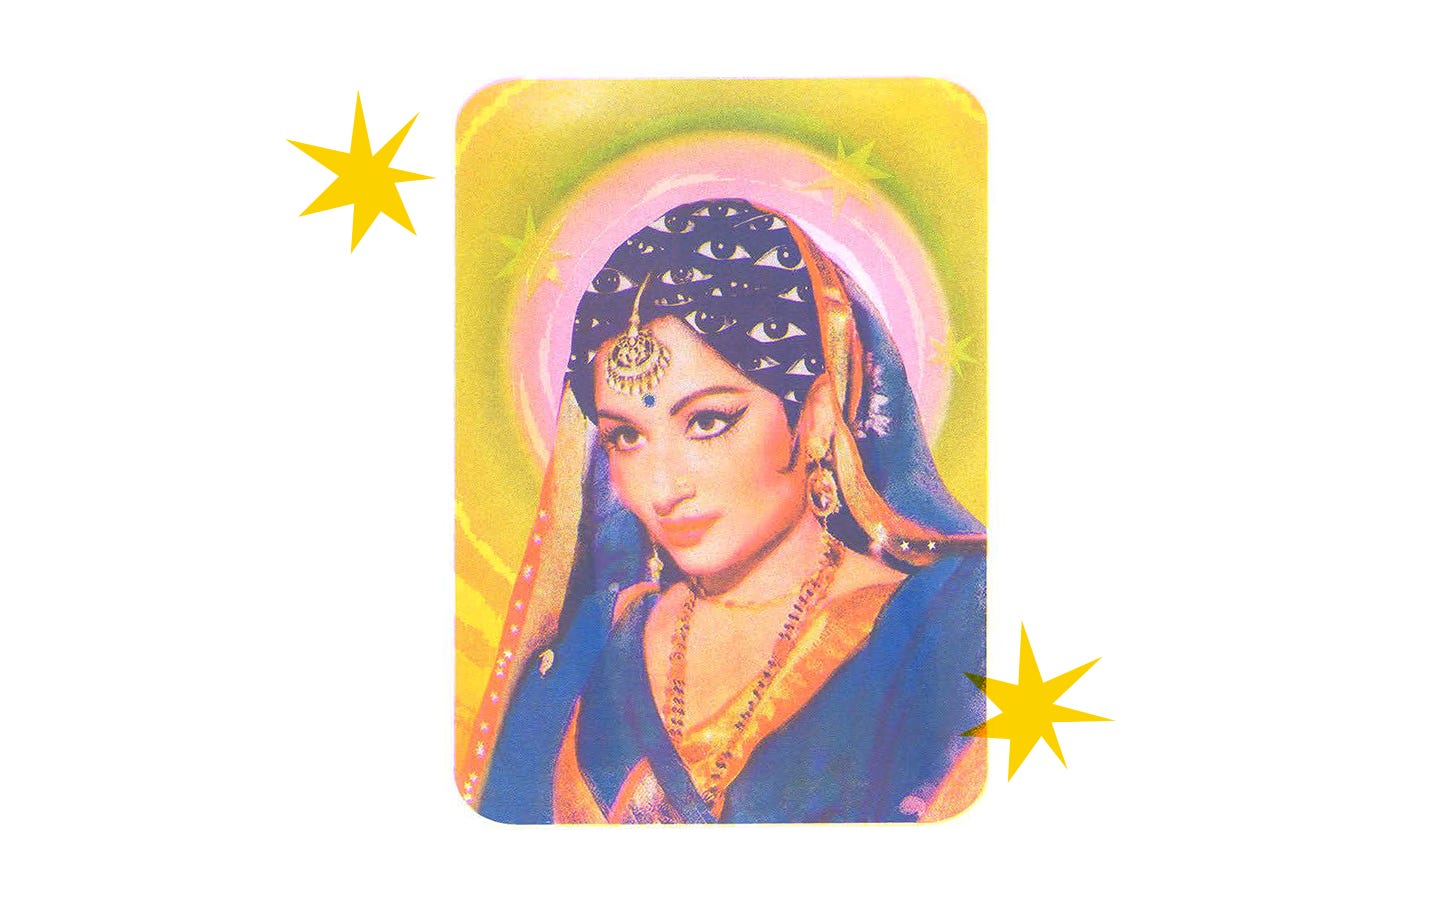
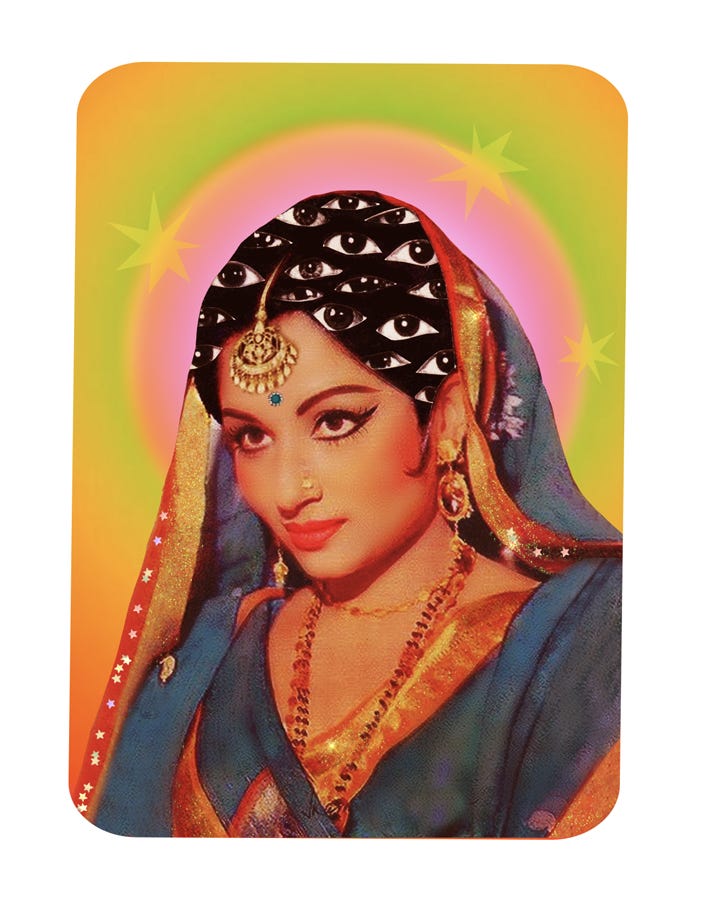
Today I am gonna be breaking down how I made this 11x17 riso print of Sharmila Tagore! ♡‧₊˚ I LOVE how it turned out and think the process is so cool, so let’s get into it ~
Ingredients
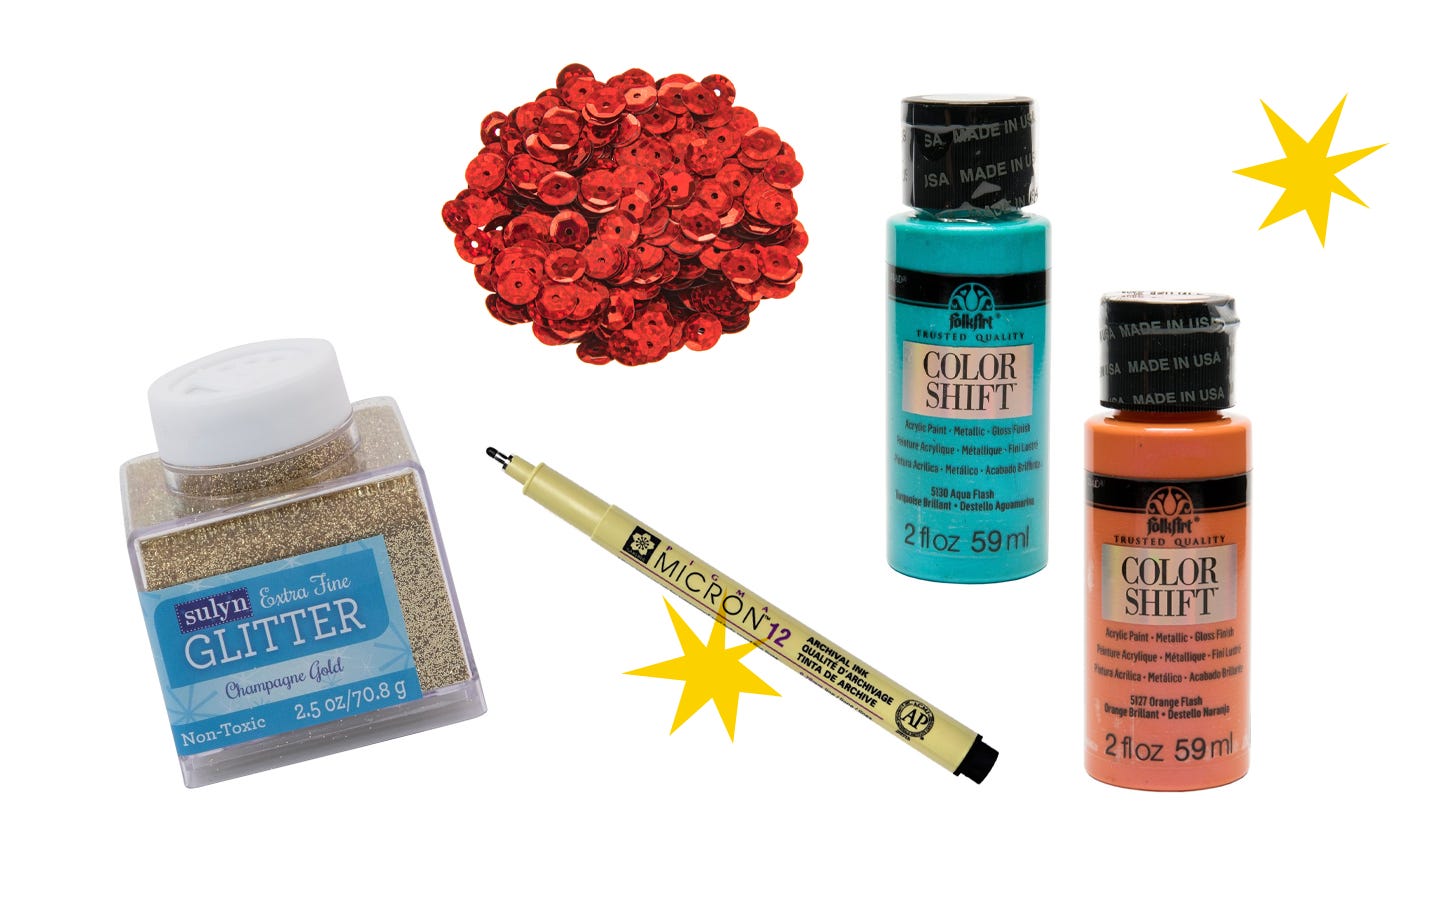
1 cup of gold glitter
1 tablespoon of red sequins
1 ounce of blue color-shifting acrylic paint
1 ounce of orange color-shifting acrylic paint
A dash of Mod Podge
1 exacto knife
1 micron pen
1 collage kit
Directions
Step 1
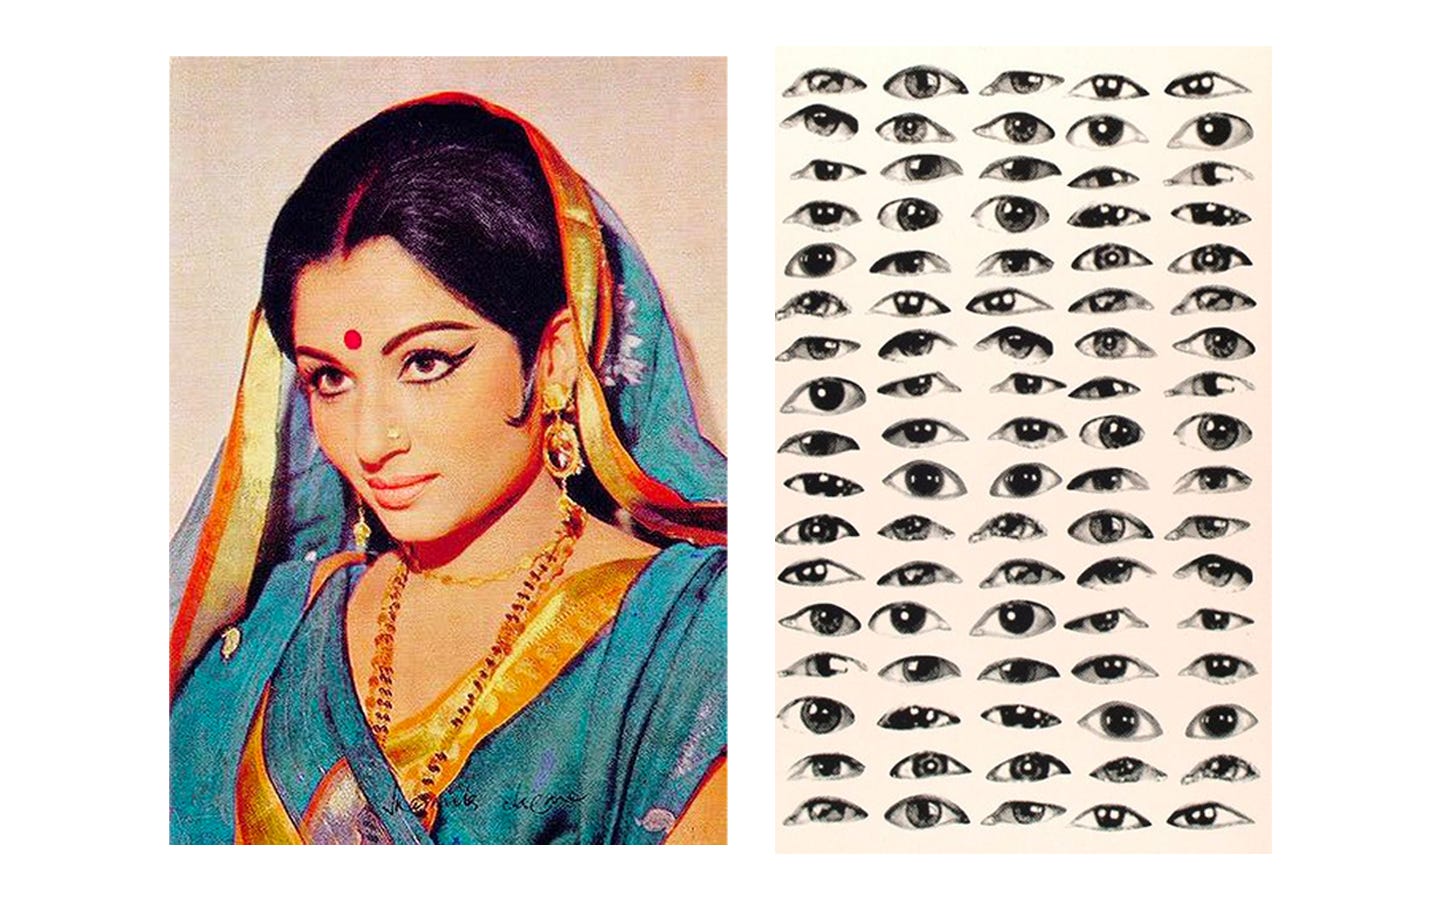
The first step I did was to make myself a collage kit. I decided to keep it fairly simple and just use two images:
Step 2
The next step is to collage and paint until you reach your heart’s desire. ♡‧₊˚ I chose to use color-shifting acrylic paint because it adds a nice metallic feel when you scan your piece! I recommend this paint!
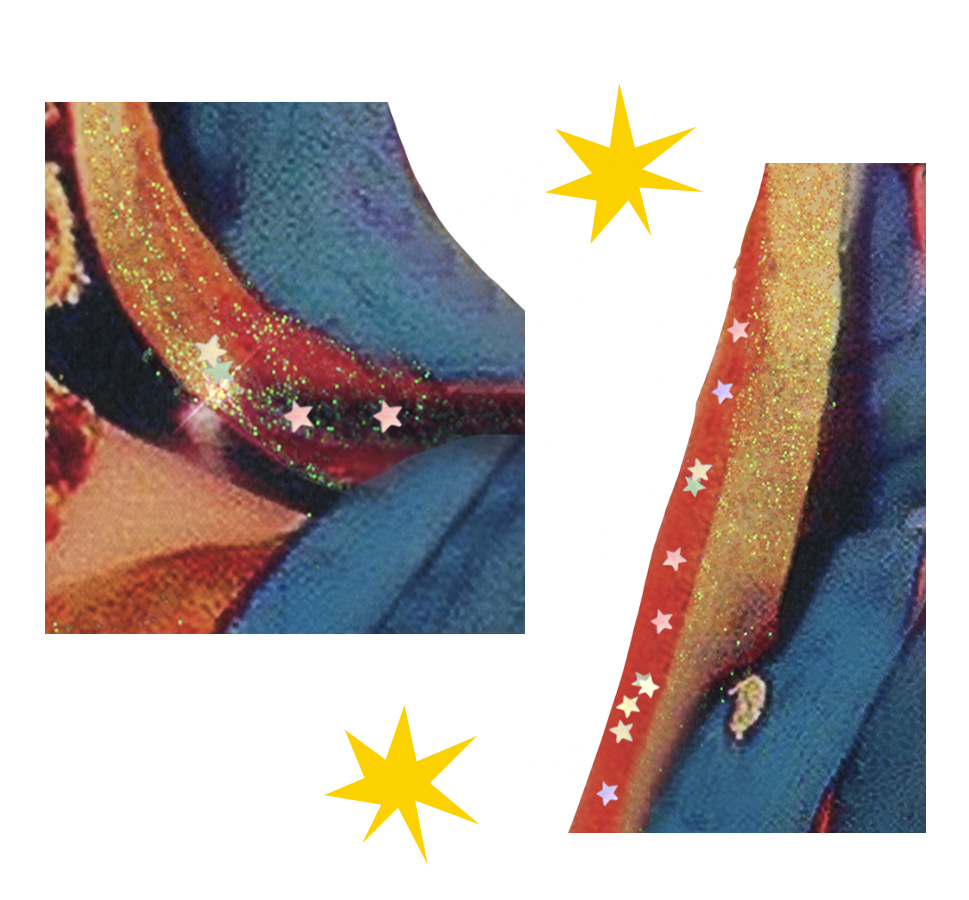
I also recommend mixing fine glitter into clear Mod Podge, and painting layers of that onto areas that you really want to sparkle! I did this on the gold trim on her scarf.
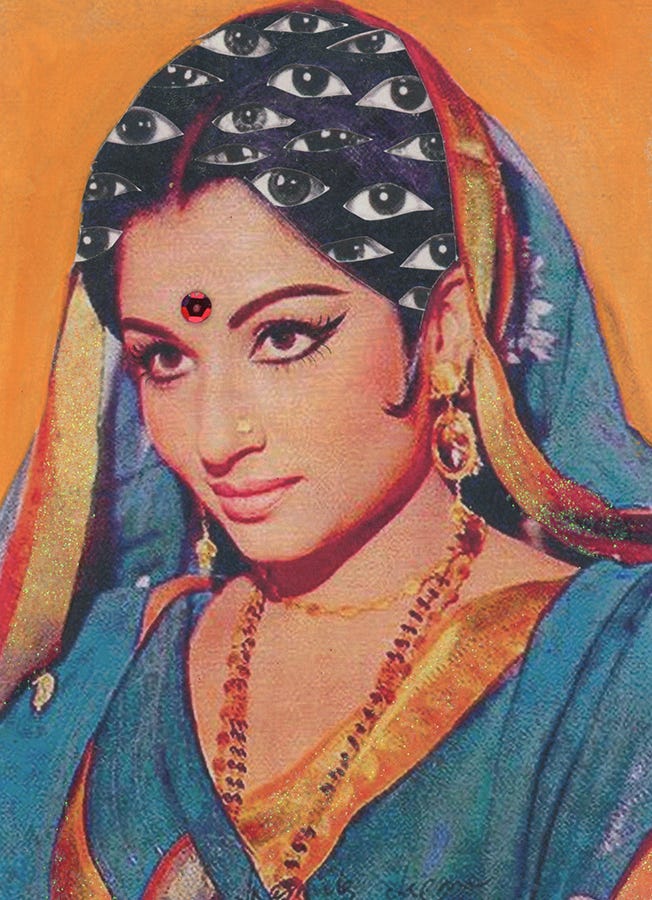
I also went in and drew on little details like eyelashes with a Micron pen during this step!
Step 3
After scanning your collage, it’s time to bring it into Photoshop!
At this point, I created a background for the piece, digitally, with gradients!
Step 4
It’s time to retouch the physical collage!
I started off by smoothing out big areas like her skin, and the fabric on her outfit, so you couldn’t tell how pixelated the original photo was.
The next thing I did was add in more glitter digitally! I added little star flakes over the areas that were already sparkly, and used the dodge/burn tool in Photoshop to make the pre-existing sparkles pop! *ੈ✩‧₊˚
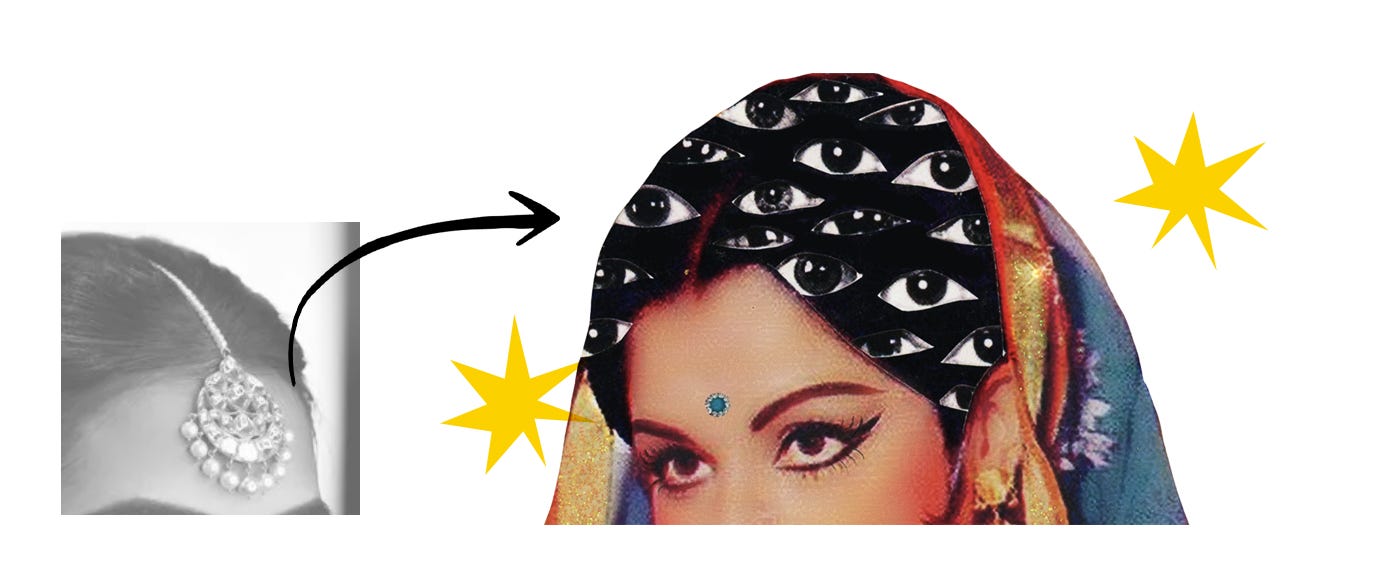
After this, I decided I wanted to add some jewelry to her hair! I found a random image of a tikka that was at the same angle as the photo of her, and added it in!
Step 5
Now, bring your background and collage together!
It’s okay if the colors look harsh here! Everything will soften up when you print. (╹◡╹)
Step 6
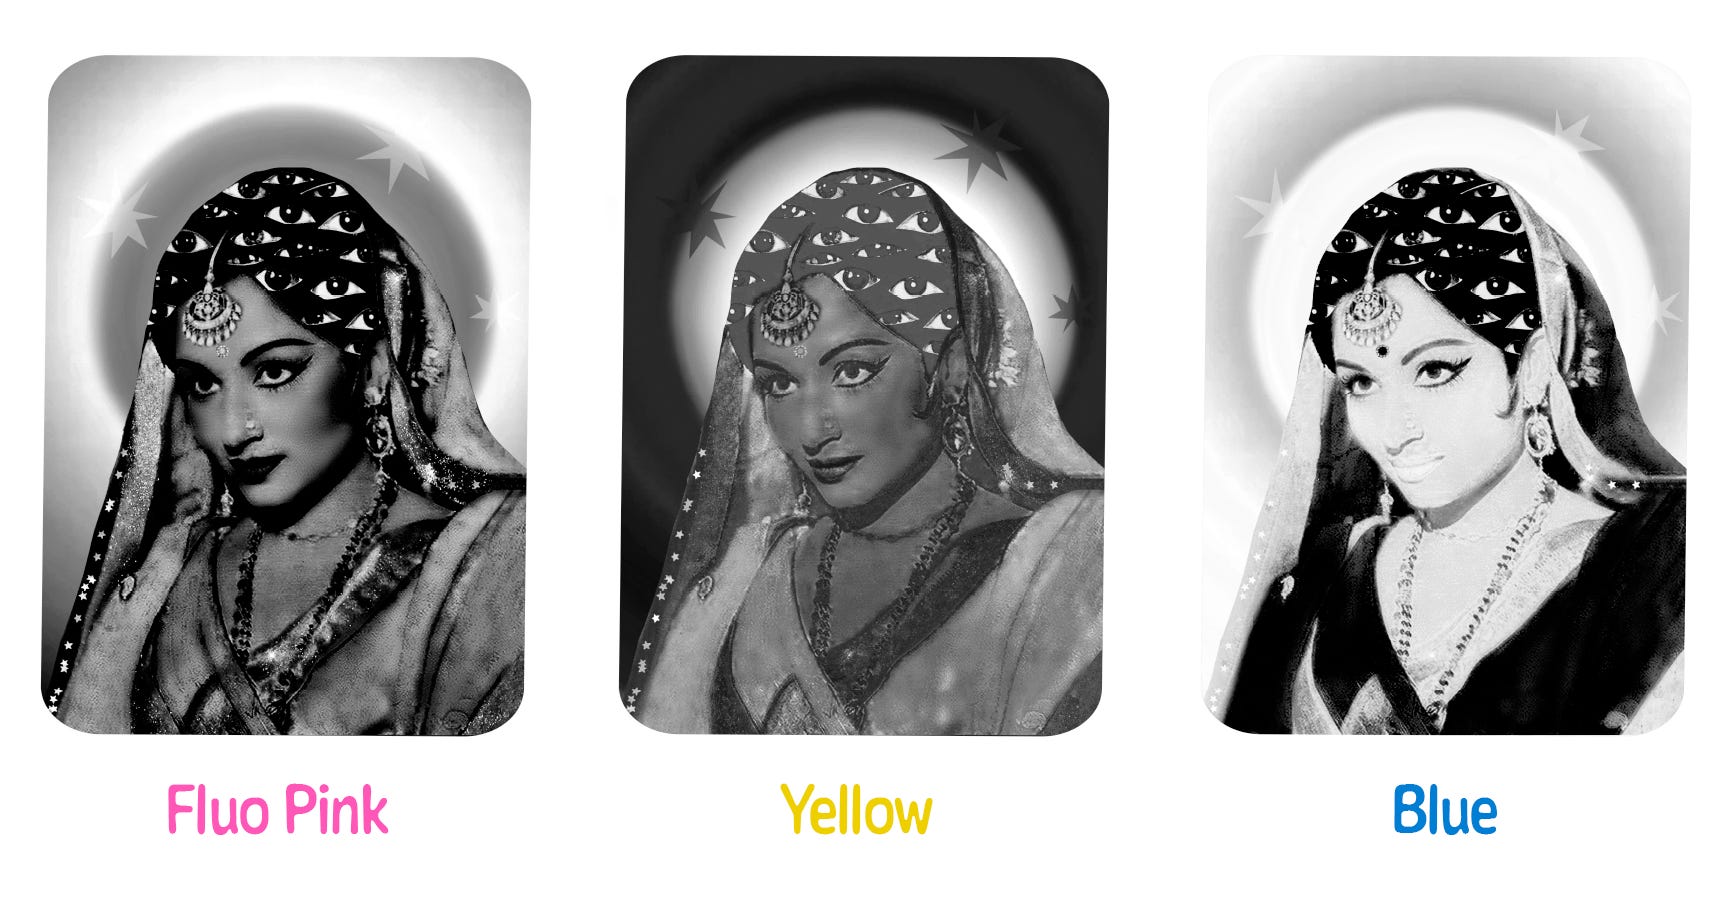
Prep your layers for print! ♡‧₊˚
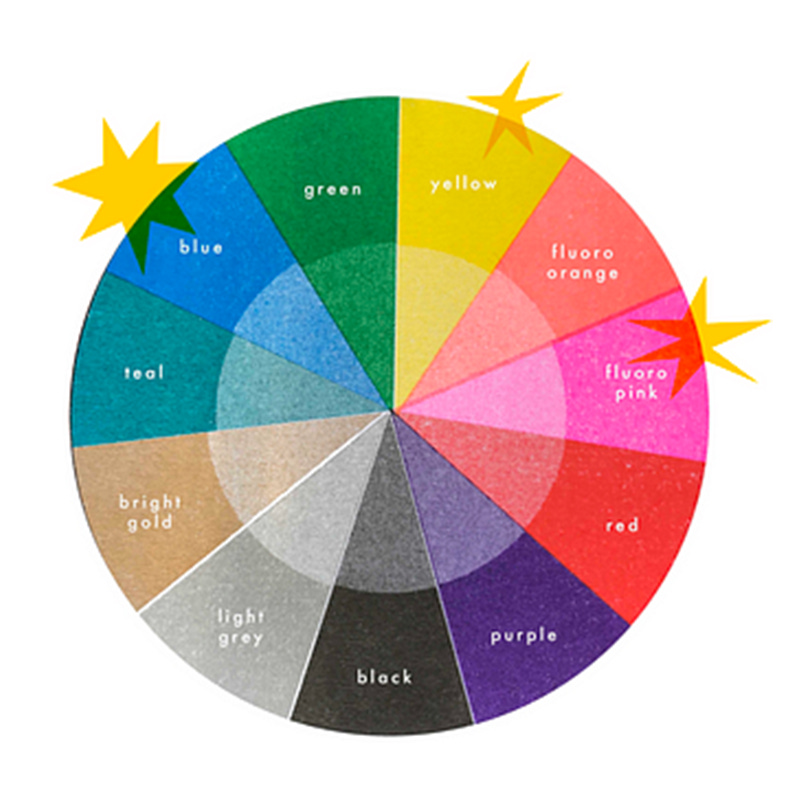
I will be using the colors Fluo Pink, Yellow, and Blue - so I will separate my image into three corresponding channels!
Step 7
Let’s start printing!
I always being with the yellow layer, and then print the pink over it! *If you want your image to be really fluorescent, I recommend printing two layers of pink!*
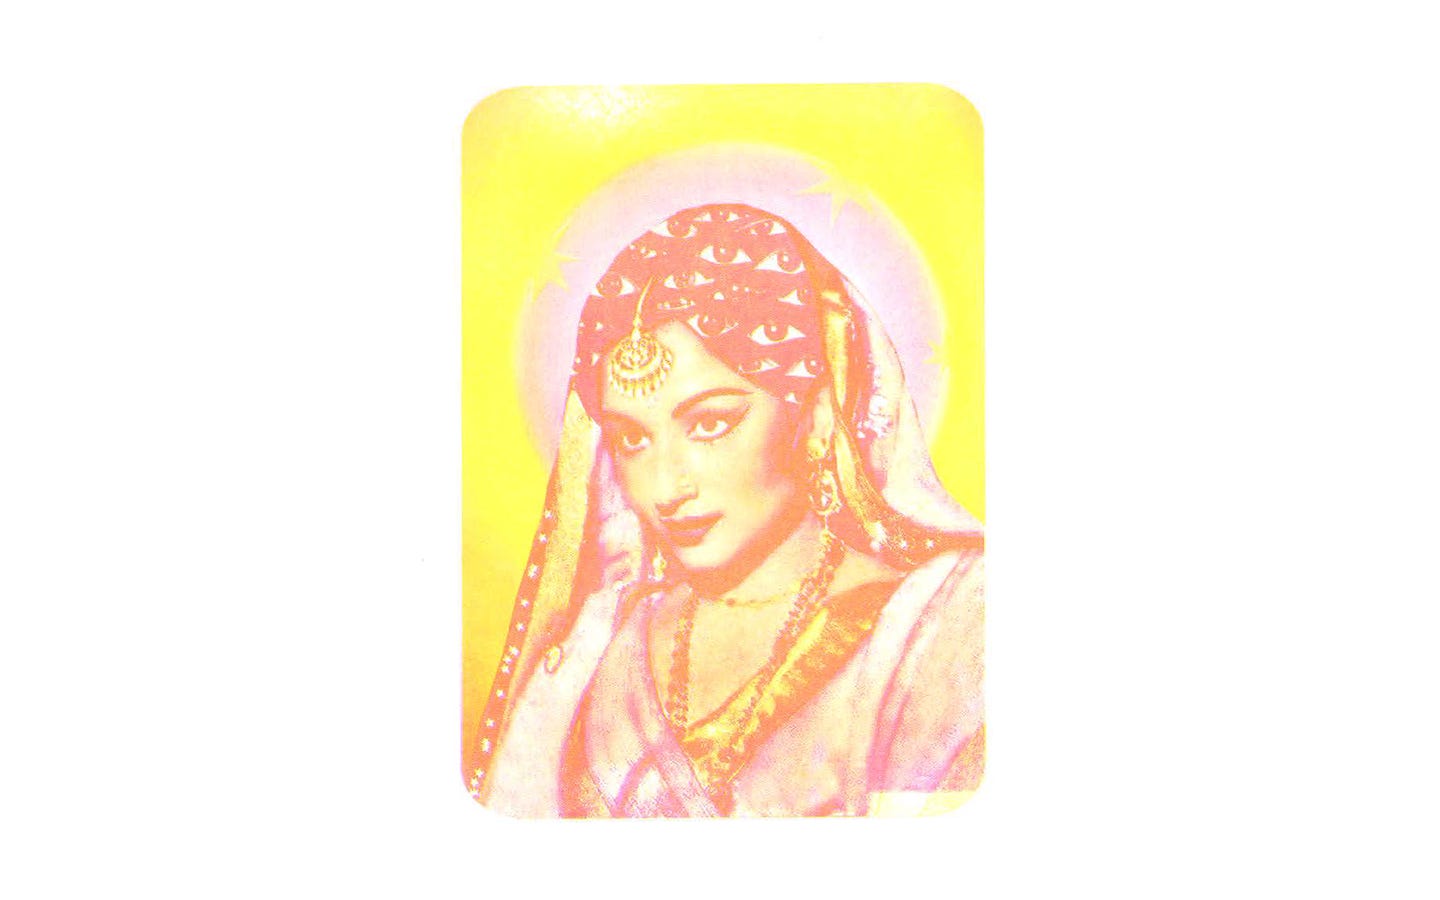
Once you are satisfied with your yellow and pink layers, print your final layer! ♡‧₊˚
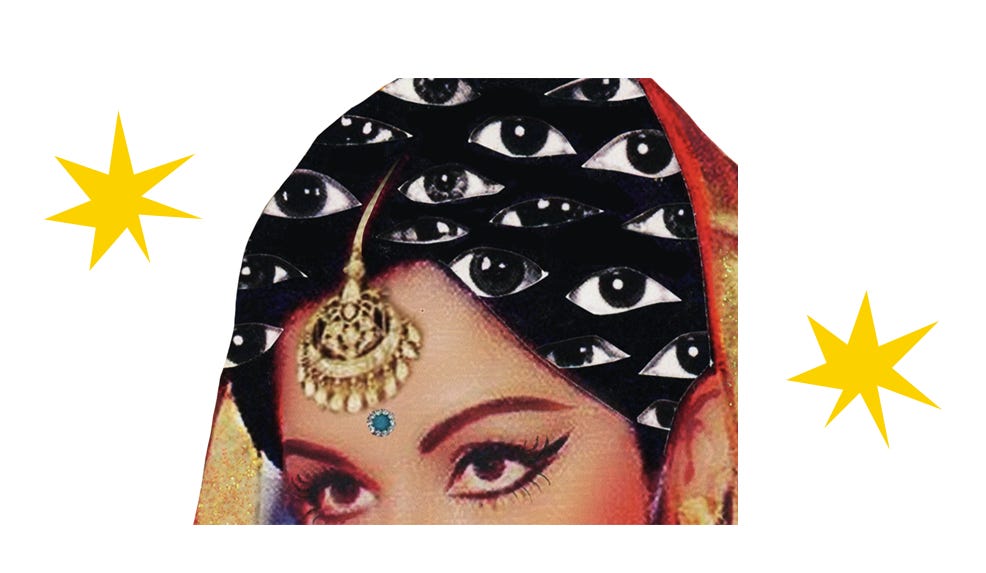
The Final Product
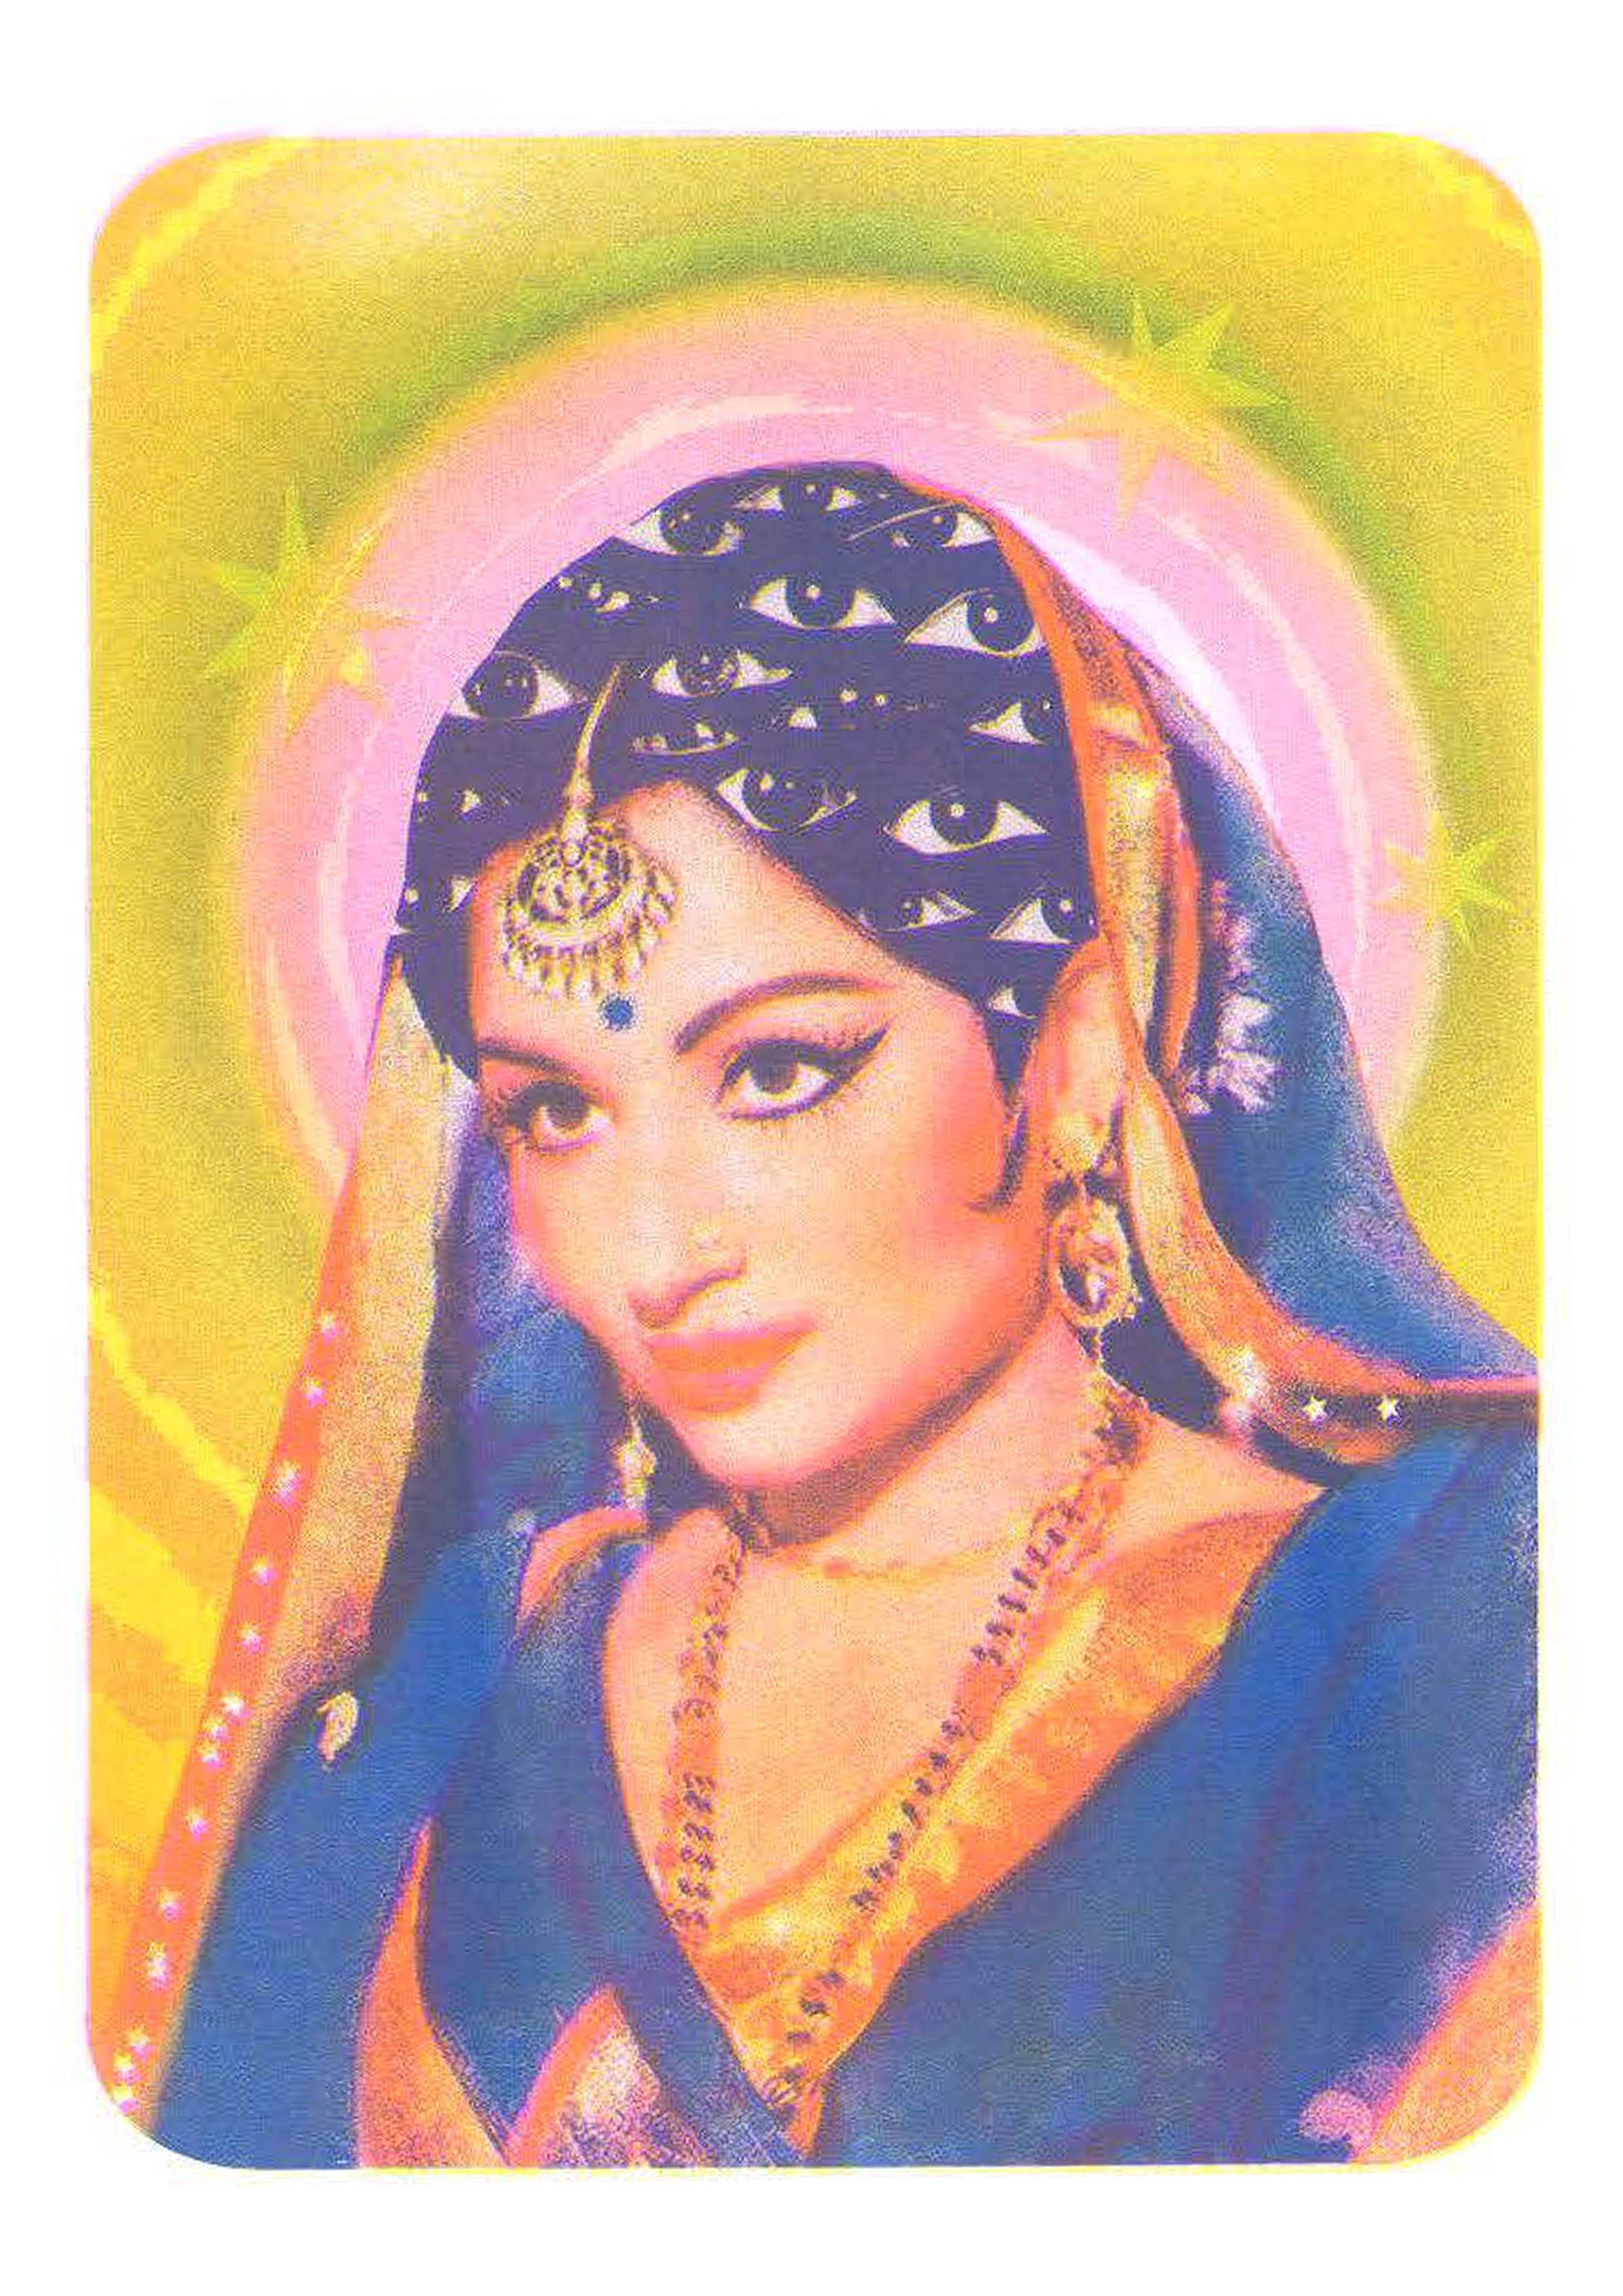
Bonus!
Misprints are always my favorite part of any project! Here are two gems that got offset by another print I was working on:
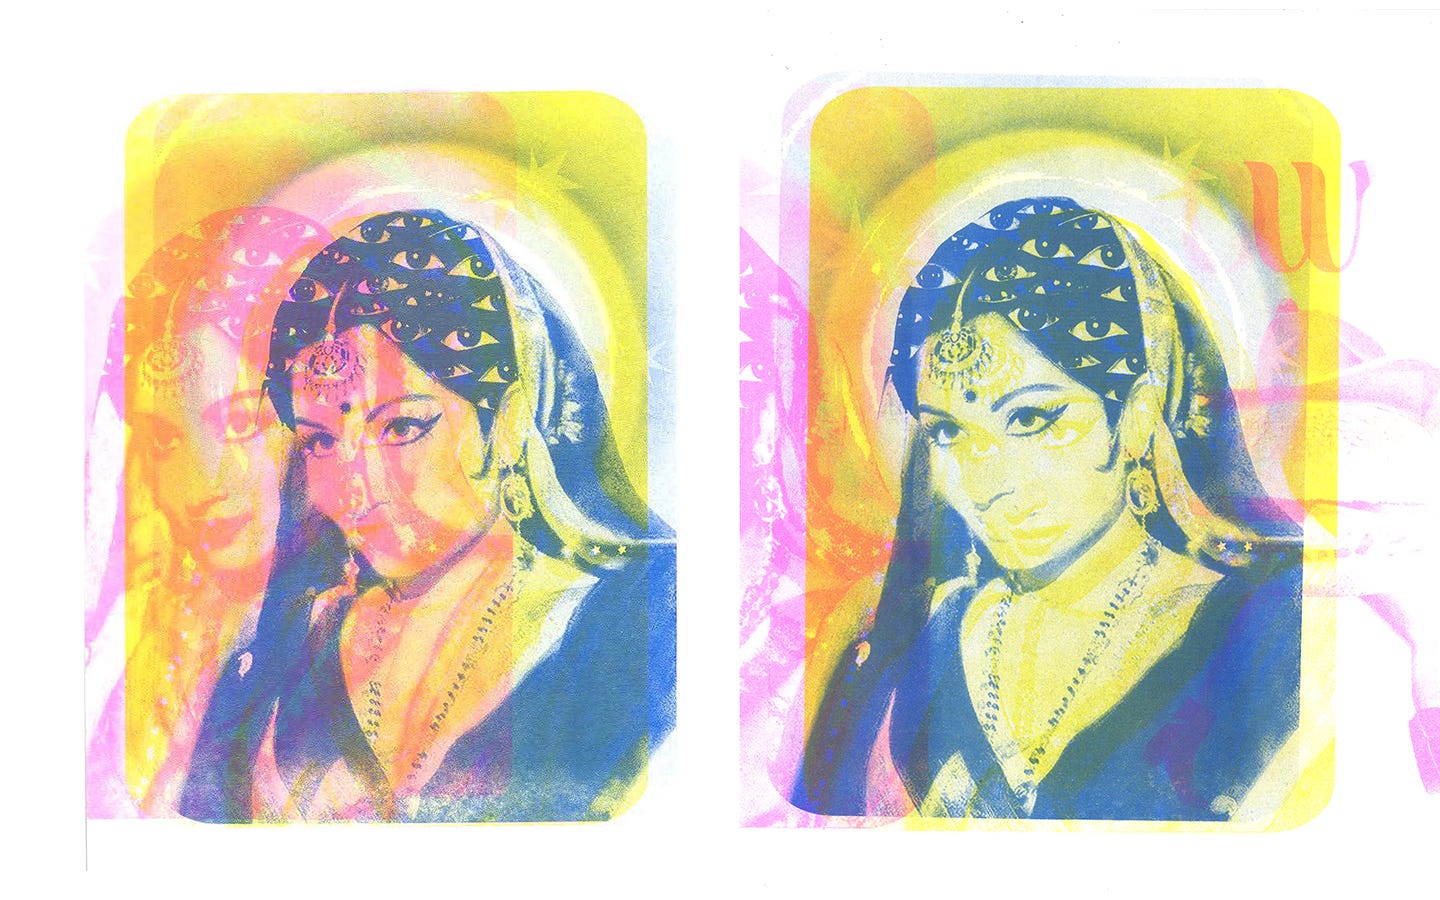
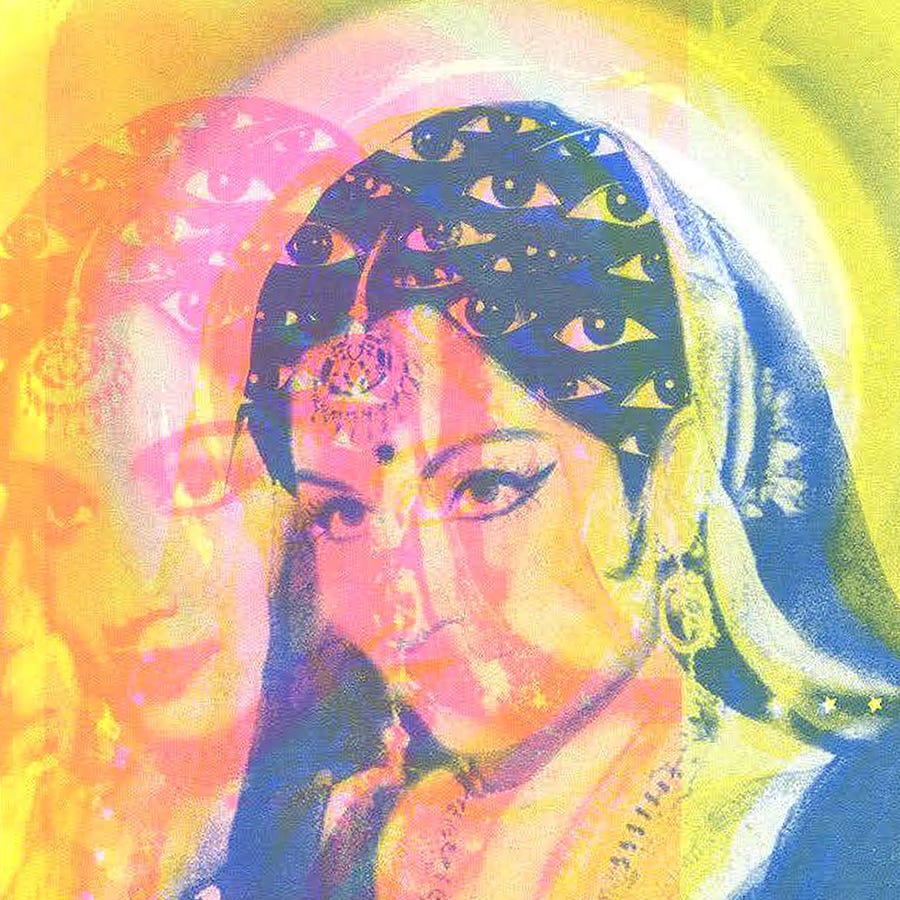
And a closeup:
Thank you for tuning in! I hope this was fun to read through!! ♡‧₊˚
- <3 misha!!!